Every day, thousands of WordPress-based websites are released into the World Wide Web. However, the majority of those websites are just like any other website; they end up at the bottom of the pecking order, and they suffer from having very little to no influence.
I have carefully prepared this WordPress website pre-launch checklist to guide you on how to make your WordPress-based website stand out upon launch.
NB: This article assumes that you already have a fundamental knowledge of WordPress.
Temporarily Hide Your Website From Search Engines
The first and most important step, especially if your site was built from a WordPress template is to temporarily take your website off the eyes of search engines like Google and Bing.
Doing this would effectively disallow search engine bots from crawling your website, thereby preventing the search engines from associating the dummy content found in most WordPress themes/templates with your website address on their search engine result pages (SERP).
To do this from the WP Admin Dashboard, go to Settings >> Reading. Under Search engine visibility, check the box that reads “Discourage search engines from indexing this site”. Click the “Save Changes” button below, and that’s it!

Discourage Search Engines from Indexing SIte
WARNING!!! Remember to undo this setting (uncheck the box) after you must have removed all the dummy content and demo pages installed by the theme.
Also Read: Content Marketing — 20 Ideas For Your Brand
Update Permalinks Settings For SEO
On WordPress, the default permalink structure is “Day and name”, which means your URLs will contain the date which the post or page was created followed by the title of the blog post or page.
Unless you are a traditional newspaper company, I strongly recommend that you use the “Post-name” permalink setting because it’s more reader-friendly and certainly a better option than the default permalink setting as far as SEO is concerned.
To check your permalink settings, click Settings >> Permalinks from the WP admin dashboard.
Here’s an important tip: It is better for you to decide on your permalink structure earlier in time because doing so after having so many pages and posts may result in a nasty bunch of Error 404’s or page not found errors. So check now and deliberate about your choice.
Verify Admin Email Address
Check and verify that your admin email address is correct.
To do this from your WP admin dashboard, go to Settings >> General. Under “Administration Email Address”, verify that the email address is correct and accessible, and click the “Save Changes” button.
Delete Theme-generated Pages
A lot of WordPress themes come with demo pages and page content.
Before launching your website, delete the demo pages so that they don’t become a part of your website’s sitemap.
If not deleted, these pages might still show up on search engine result pages under your domain.
With all that being said, we can all agree that it is very important to get rid of those pages before launching your website.
To delete pages from your WP Admin dashboard, click Pages >> All pages. You will see a list of those unrelated pages.
Check all the unwanted pages, then select “Move To Trash” from the “Bulk Actions” drop-down menu.
Delete Unused Themes And Plugins
The number of plugins installed and activated on your WordPress website has a direct effect on its load times.
Subscribe for updates
Apart from that, leaving so many unused plugins and themes on your website makes it more susceptible to cyber-attacks.
Deleting unused plugins and themes from your website reduces the bloat, thereby decreasing the overall website’s size — Which means lesser server stress during full site backups.
Install A Security Plugin
Install and activate an anti-virus and security plugin like Wordfence.
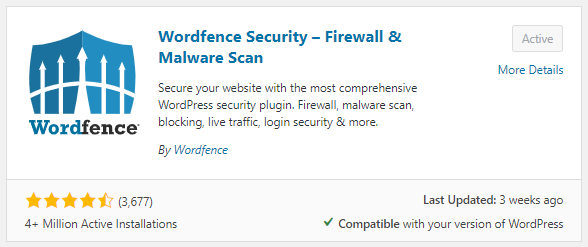
Wordfence Security Plugin
I recommend Wordfence because it is free and easy to use. Wordfence also sends security alerts to you via email, so you are always up to date with the security situation of your website.
Installing Wordfence should be quite straightforward and easy to use; Just visit the WordPress plugins directory from your WP Dashboard as usual to install Wordfence.
The default settings will work fine enough to protect a new WordPress website, however, you can play around with more advanced settings at your own risk.
Read Also: Why WordPress Is Perfect For Your Next Website Project
Install An SEO Plugin
Install search engine optimization plugins and generate an XML sitemap.
I recommend using Rank Math. Rank Math is not only easy to use but also intuitive.
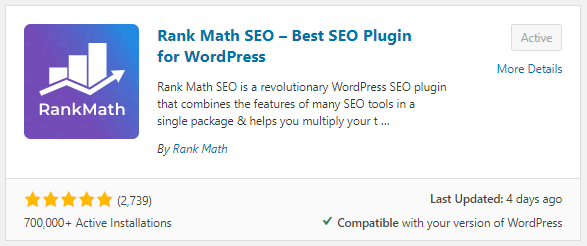
Rank Math SEO Plugin
It also has a page SEO score that allows you to preview how your website will fare in search engine search results pages.
It also features seamless integrations with Google Search Console, Google Analytics and Bing Webmaster Tools.
Rank Math also allows you to generate a file called sitemap.xml
What an XML sitemap does is that it creates a “map” that enlists all your web pages for easy structuring by search engine bots or crawlers.
Install A Caching Plugin
On WordPress, selecting the right caching plugin is a tricky task. This is because we have so many options to select from.
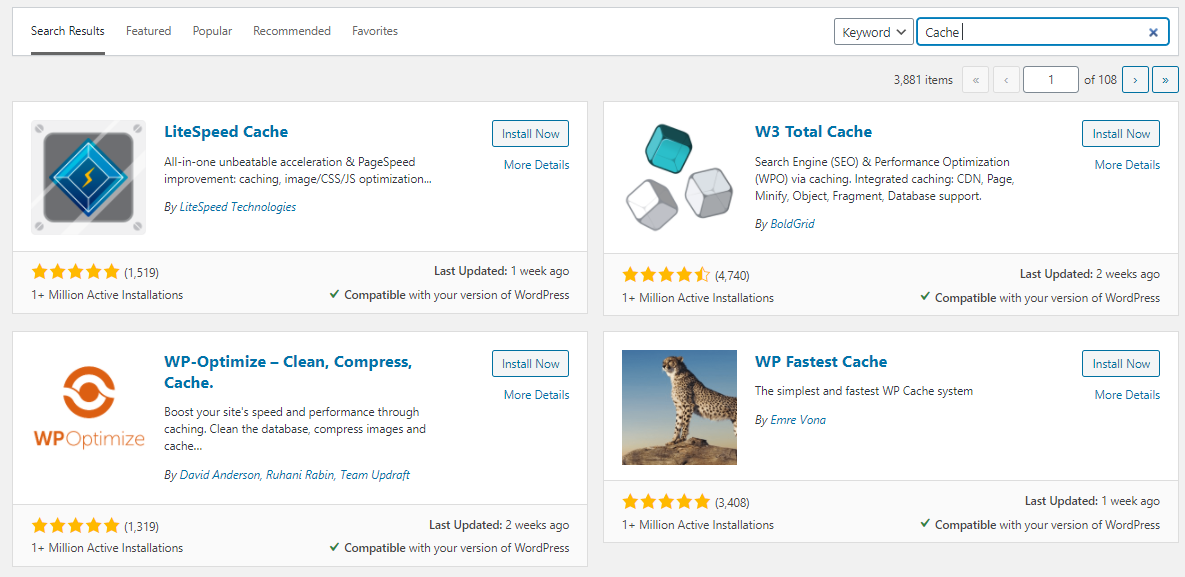
Caching Plugin Options for WordPress
Instead of “disturbing” the origin server every time you visit the same web page, a caching plugin helps your website load faster by temporarily storing and serving your website’s static files (known as cache). This effectively minimizes the load on the webserver and significantly reduces your website loading time.
My best caching plugin is WP Rocket, which is a paid plugin, but you can achieve similar results with other free WordPress plugins such as W3 Total Cache, WP Super Cache, WP Fastest Cache, etc.
Set Up Search Console and Analytics
For the Branditechture website, we use Google Search Console, Google Analytics and Bing Webmaster Tools.
Google Search Console is used to fetch what keywords (or search queries) were used by people who visited our website through the Google search.
Google Analytics: Google Analytics is used by website owners or webmasters to track website activity such as the average time visitors spend on a certain page, their geographic location, the pages viewed per session, the website’s bounce rate, the user flow etc. of people visiting or using the site, along with the information such as the source of the traffic.
Bing Webmaster Tools (Bing WMT) is a free Microsoft service that allows you to add your websites to the Bing crawler so they show up on the Bing search engine result pages. It allows you to see detailed information about your website; including clicks, page views, pages indexed, and pages crawled.
It also helps to monitor and maintain a site’s presence. Bing Webmaster Tools is to the Bing search engine, what Google Search Console is to Google.
Install A GDPR/CCPA Compliance Plugin
The major reason to make a website GDPR compliant is to tackle the issue of consent. Information (which may be regarded as “cookies”) should never be collected and processed unless consent has been obtained.
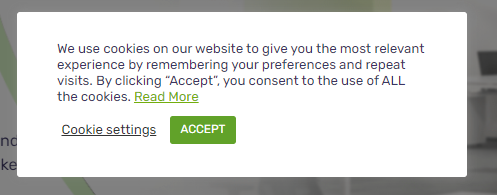
Cookie Notice
Any company or business caught harvesting information without the consent of their users is liable to face data protection fines according to their state laws. For example, the European Union GDPR Law sets a maximum fine of €20 million (about £18 million) or 4% of annual global turnover – whichever is greater – for infringements.
To make a WordPress website GDPR-Compliant, all you need to do is install and activate a cookie consent plugin. Feel free to use the plugin of your choice but our most-preferred GDPR/CCPA Compliance plugin is CookieYes by WebToffee.
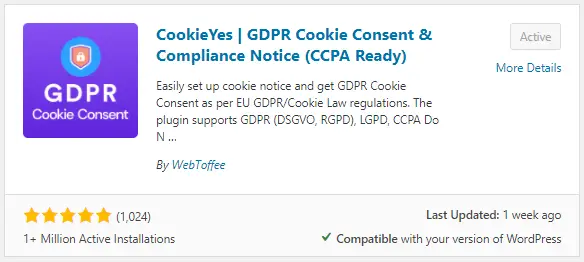
CookieYes GDPR Compliance Plugin
Finally, in addition, you should create a privacy policy page. What a privacy policy page primarily does is explain how user data on your website is processed.

Cookie Notice


